14 Steps to learn kitesurfing
Because learning how to kite is a linear process, not one hour magic lesson.
Kitesurfing is not a sport that can be learned in one or two hours. It demands a bunch of hours of training. But above all, it demands going step by step mastering one exercise at a time. At the end of this learning process you will kite safely on your own.
One of the most asked questions is: How long it takes to learn kitesurfing?
This question depends on different factors: the student skills, the wind conditions and the sea conditions, among others. Approximately, it takes from 3 to 4 hours to get to the board stage and between 9 to 12 hours of training to become an independent kiteboarder.
Every student is different and has a different rhythm. If you have excellent skills and you are “a natural”, you will learn very fast. If not, don’t worry, the learning process will take a little longer for you. Go step by step. Focus on what you are doing, listen to your instructor and you will end up kiting.
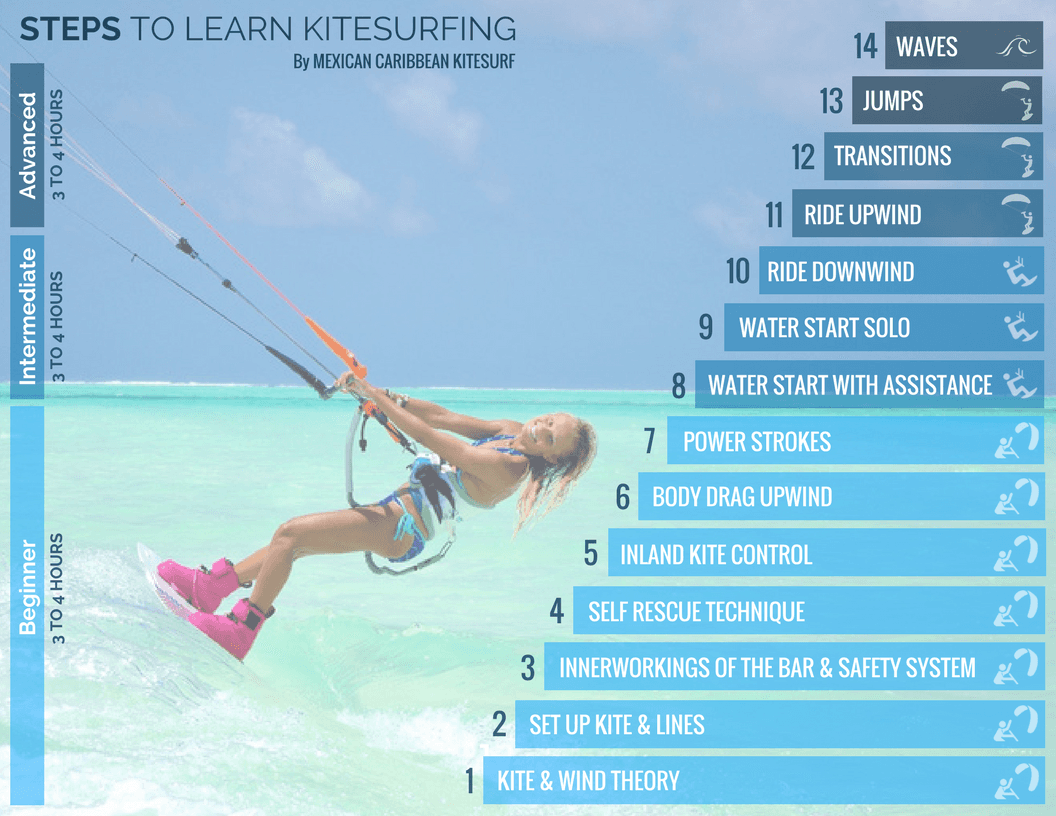
We manage to put together this 14 step kitesurfing program
,
so you can know exactly where you are in your learning process:
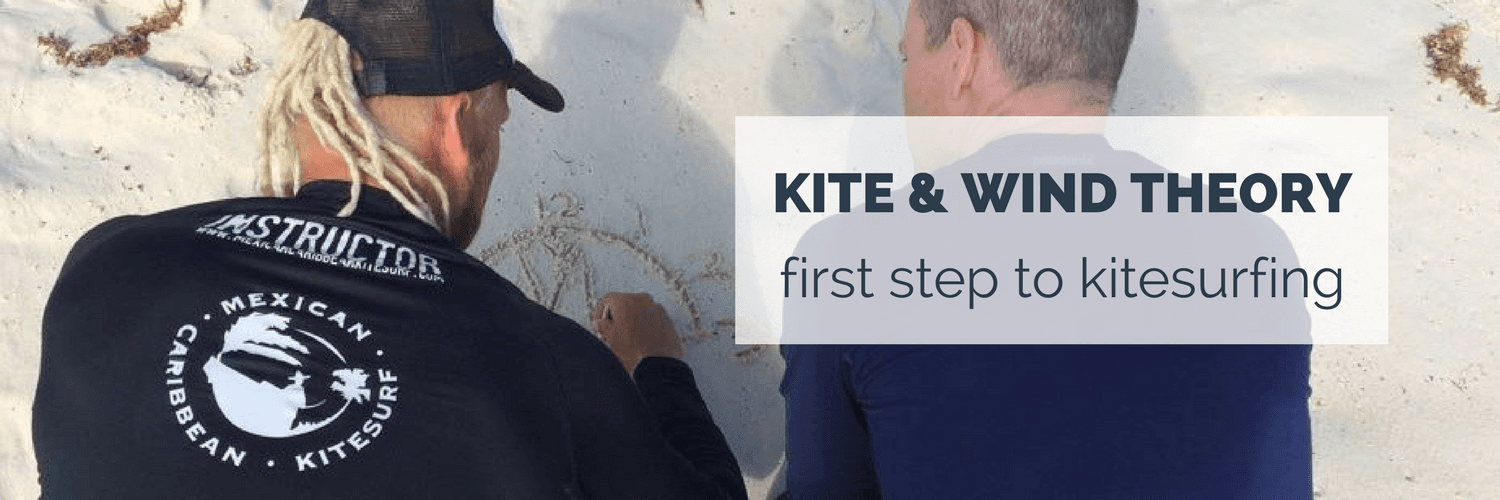
1) KITE & WIND THEORY
This is an important part of the course, sometimes overlooked because people is not very much into theory. But completely necessary to set up the foundation of a good kitesurfer. It is a must to learn 3 basic things:
- Where the wind comes from?
- Wind directions in relation to shore and which one is better to kitesurf; and
- The wind window theory
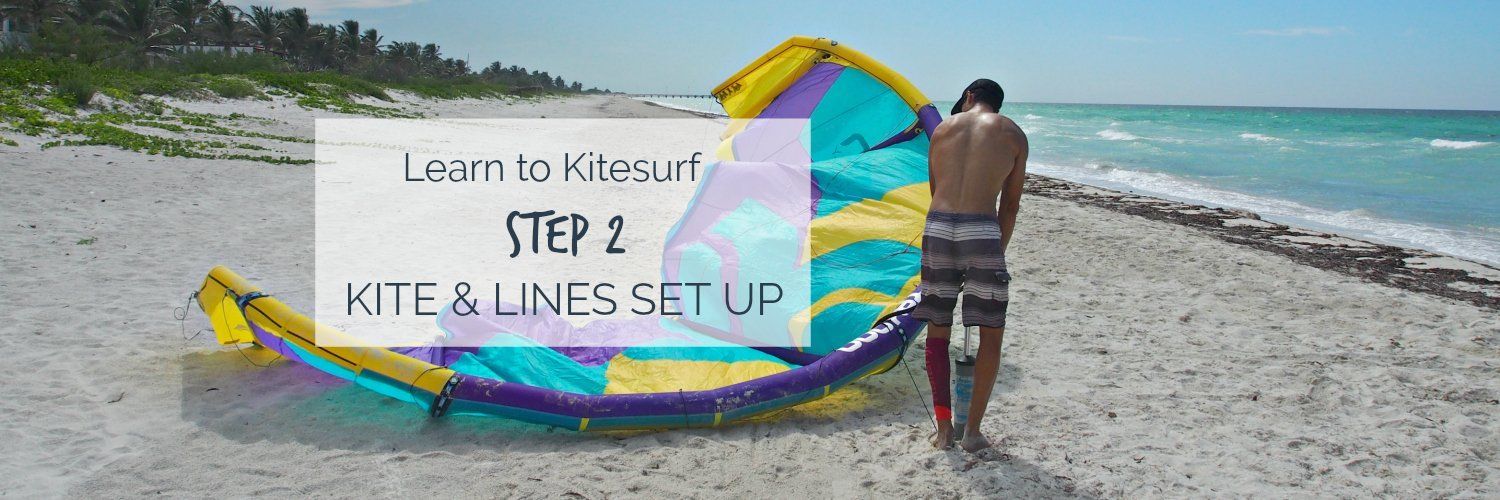
2) KITE & LINES SET UP
Pumping the kite and connecting the lines properly before launching are essential steps to fly the kite.
Seems easy, right? But if you don't pay attention to your kite lines the kite can fly wrong and result in an accident.
(Extended explanation here)
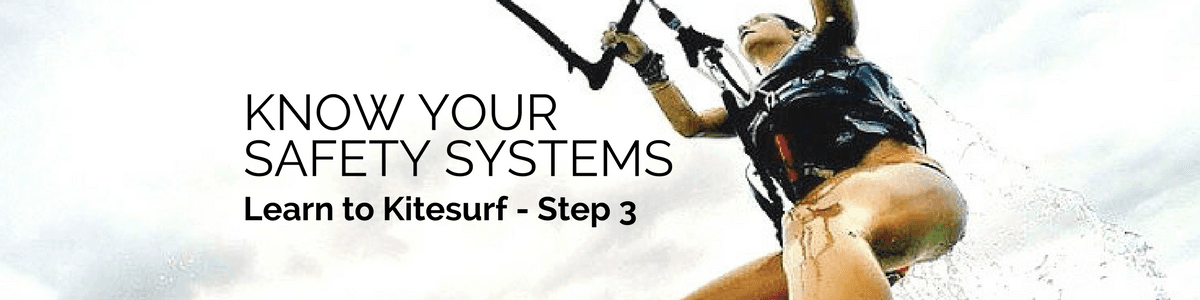
3) INNER-WORKINGS OF THE BAR & SAFETY SYSTEM
Learning how to use the bar and its de-power system will help you to give more or less power to the kite.
It's crucial to understand and learn the 3 safety systems of the kite. Despite of the differences between kites and brands, more or less the security systems are the same.
- Release the bar
- The chicken loop quick release, to de-power the kite; and
- The safety leash quick release, to detach the kite from the rider (just when necessary)
(Extended explanation here)
4) SELF RESCUE TECHNIQUE
This technique is what you do to bring yourself back to shore in case you had a problem with the equipment or the wind just dropped while you are out there. By holding the kite by both wingtips you form a sail that will pull you downwind into shore.
5) INLAND KITE CONTROL
Mastering kite control in the sand is one of the most important steps, because kiteboarding is 80% kite control.
In this stage you need to control the kite flying with two hands and with just one hand, which will help you when going into the water holding the kite and the board at the same time.
6) BODY DRAG UPWIND
Body dragging is the process of using the kite to propel you through the water in a desired direction without the use of a board.
7) POWER STROKES
Here you will learn how to give power to the kite to pull you out of the water. It is a necessary exercise to know what will you do to stand up on the board in the next step.
8) WATER START WITH ASSISTANCE
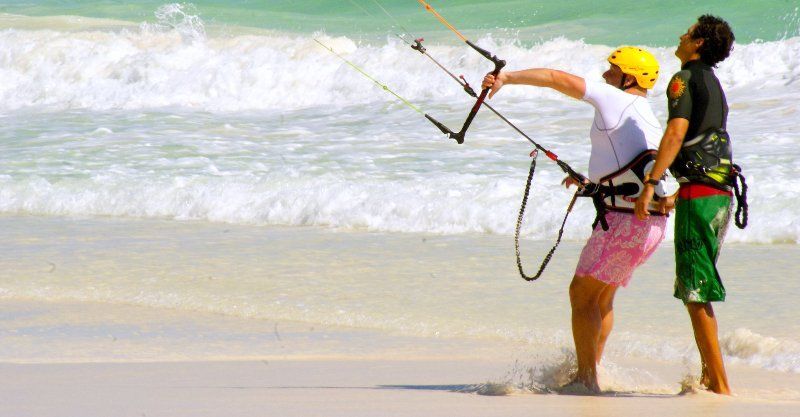
After 3 or 4 hours of lessons, more or less, you will be ready for the board part. The most wanted step by all the students and maybe one of the most difficult. With a board on your feet you will use power strokes to get you up on the board and riding. An instructor will be in the water just behind you grabbing your harness to control your power and assisting you in those first attempts.
9) WATER START SOLO
Once you are confident enough to try water start by yourself, the instructor will guide you from the shore.
10) RIDE DOWNWIND
Mastering the water start will take you directly to ride downwind. This would be the time when you feel you are kiting for the first time. This would be the time when you realize you are stocked for life.
In this stage you will ride downwind alone and safe. During this process your instructor will guide you and assist you from the shore. After each downwind ride, you will have to walk back along the beach, which is called "the walk of shame". But don't worry, all of us did it at some point in our kitesurfing lives.
11) RIDE UPWIND
Riding upwind is the key to becoming a kitesurfer. It is what separates beginners from advanced riders. It basically means you will ride against the wind, zigzagging along the water.
12) TRANSITIONS
Once you can ride both ways (downwind and upwind) you will learn transitions to change directions. The sliding transition is the first one you will perform without putting your butt into the water.
13) JUMPS
After riding both ways and transitioning smoothly you will get into jumps if you desire. Some kitesurfers don't need to jump, they just want to ride all along the beach without any complications. Specially, if they have some kind of knees or back injuries, due to the strong pressure when landing in the water.
Learning to jump or wave riding can be done at the same time. You don't need to jump in order to surf the waves with your kite. They are two different and independent ways of kitesurfing.
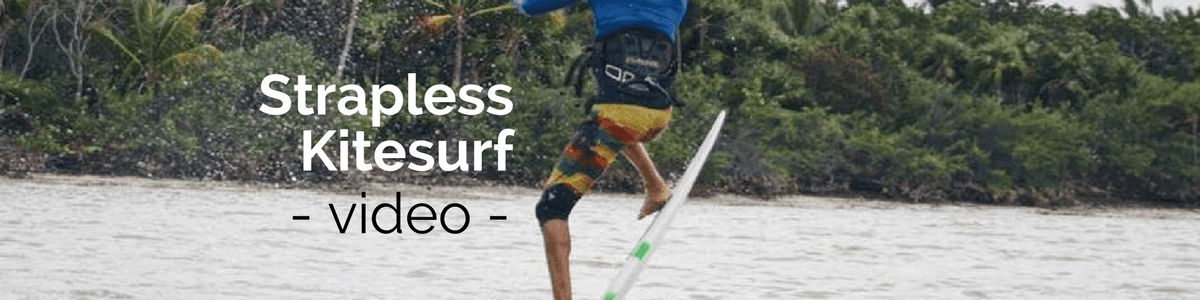
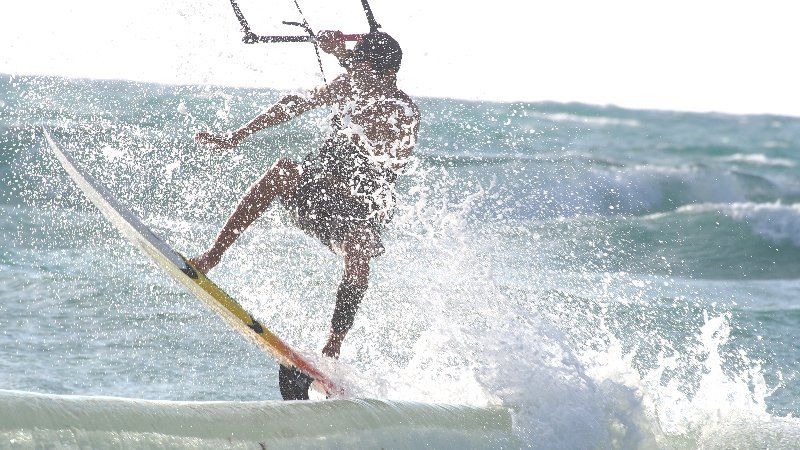
14) WAVE RIDING
Learning how to surf the waves with an strapless surf board using your kite is a great experience. But, strapless kitesurfing is much more than waves, many jumps and tricks can be learned with your surf board if this way of kiting is what you want to learn and practice.
We are passionate about strapless kitesurfing and we love to share the passion with our students.
This is just the basic program to learn kitesurfing in our kite school in Tulum. Each of these steps will be explained in detail in future posts to help you understand much better every stage of the course. Feel free to ask any possible question about it.
See you soon in the water!